When it comes to custom packaging, it’s not only around vibrant colors, creative painting, or premium finishes; it’s about precision. One crucial element that brings everything together is the dieline. If you’ve ever worked with custom boxes, product packaging, or printing tasks, chances are you’ve attended the tour. But what exactly is a dieline, and why is it so essential?
At D Custom Boxes, we believe in facilitating the complex. So, whether you’re a developer, brand owner, or curious entrepreneur, here’s everything you need to learn about dielines and how to create one for your packaging scheme.
What Is a Dieline?
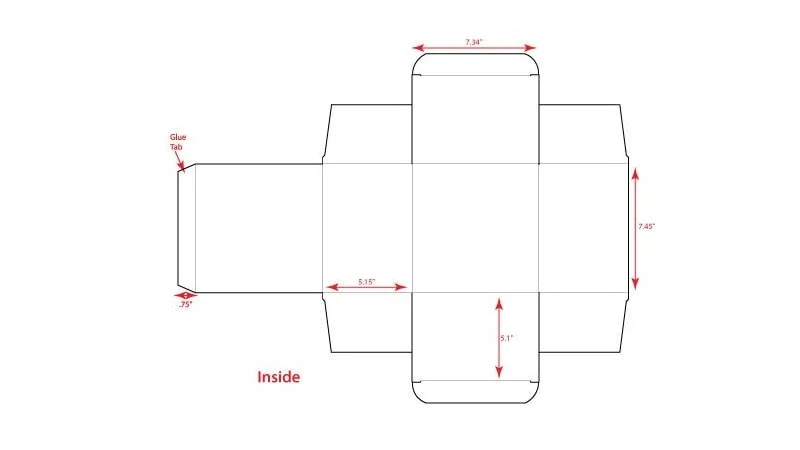
A dieline is a template or blueprint used in the printing and packaging industry to provide proper layout and cutting of printed fabrics. Think of it as a guide that outlines where your packaging will be cut, folded, and glued during the show.
In simple terms, it’s a 2D diagram that shows the shape and layout of your 3D box, unfolded and flattened.
It includes markings such as:
- Cut lines – where the packaging will be cut
- Fold lines (crease or score lines) – where the material will bend
- Bleed areas – extra space to ensure printing to the edge
- Safe zones – the area where essential content like logos or text should stay inside to avoid being trimmed off
Without a die line, it would be nearly impossible to produce packaging with proper structure, alignment, and visual appeal.

Why Are Dielines Important?
You might be thinking: “Can’t I just send in my box design and call it a day?”
Not quite. A dieline is what makes it all possible behind the scenes. Here’s why:
1. Accuracy in Printing
Your printer needs to know exactly where to cut and fold. A dieline eliminates guesswork and reduces production errors.
2. Consistent Packaging
Whether you’re making 500 or 50,000 boxes, dielines help ensure each one looks and functions exactly the same.
3. Design Alignment
Dielines show where front panels, sides, and flaps are — so your artwork aligns correctly when the box is assembled.
4. Cost Efficiency
Mistakes in cutting or folding can result in wasted materials and delays. A proper dieline saves time and money.
Common Dieline Elements
Let’s break down the key components you’ll often see in a dieline template:
| Element | Purpose |
| Solid Black Lines | Indicate cut lines |
| Dotted Lines | Represent folds or creases |
| Bleed Area | Extra margin beyond the cut line to allow for full-edge printing |
| Safe Zone | Inner area to keep critical text and logos inside |
| Glue Tabs | Tabs that help hold the structure together during box assembly |
Each element may be color-coded or layered in design software (e.g., Adobe Illustrator) to help printers and designers distinguish between the functions.
How to Create a Dieline: Step-by-Step
Now that you understand what a dieline is, let’s go through how to actually create one for your custom packaging. At D Custom Boxes, we often help clients through this process — but here’s how you can approach it yourself or with a designer.
Step 1: Choose the Packaging Style
First, determine what kind of packaging you need. Some common types include:
- Tuck-end boxes (straight or reverse)
- Mailer boxes
- Sleeve packaging
- Display boxes
- Custom inserts
Each style will require a different die line shape and folding structure.
Step 2: Use a Design Tool or Template
You can either:
- Create your dieline using vector software like Adobe Illustrator
- Use an online dieline generator (many box manufacturers offer free tools)
- Request a template from your packaging supplier, like us at D Custom Boxes
Our team provides pre-sized dieline templates for nearly every box style and size. This ensures your artwork fits perfectly.
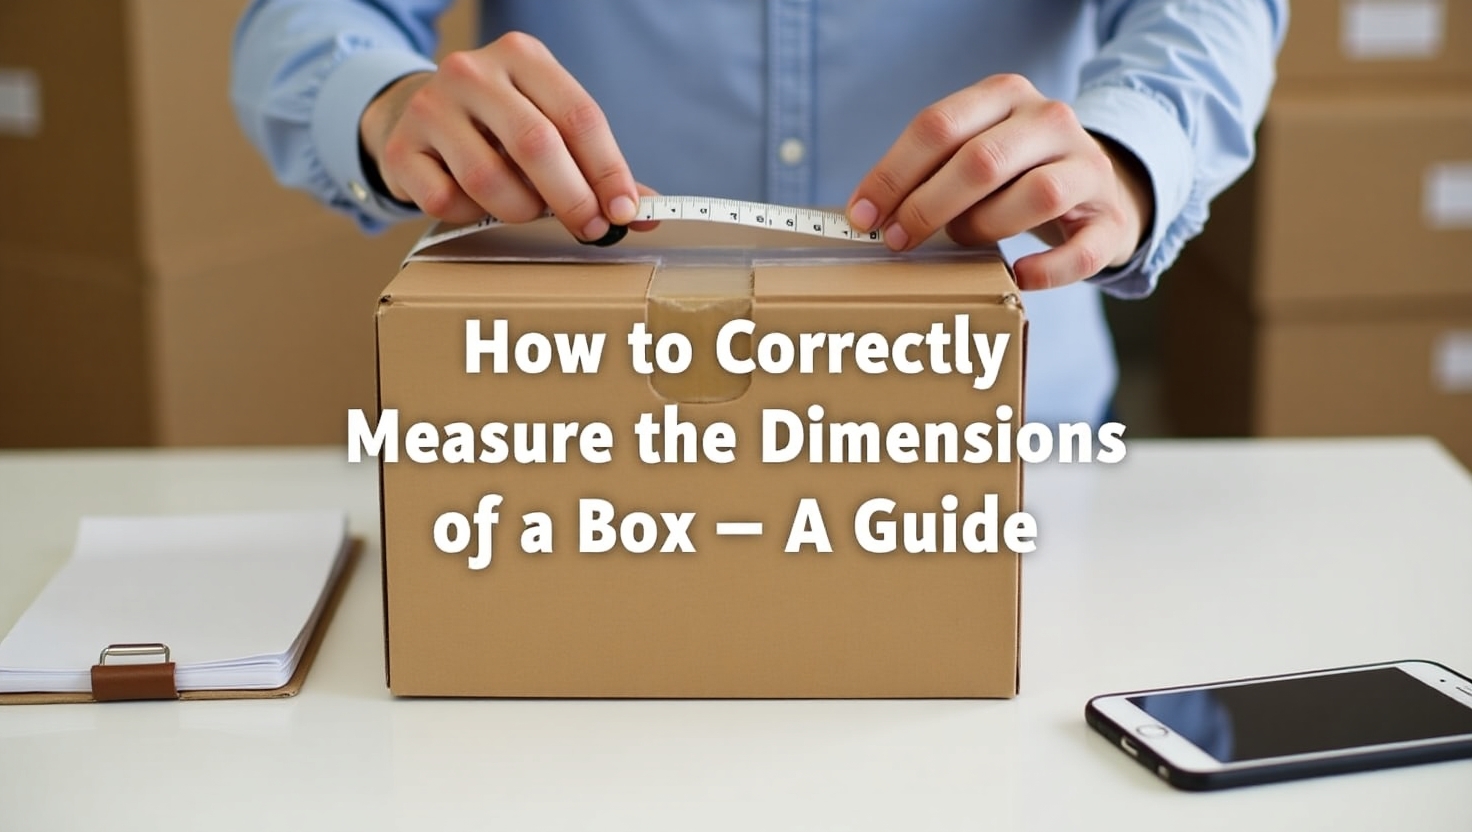
Step 3: Define Box Dimensions
Measure the inside dimensions of your box:
- Length: the longest side of the opening
- Width: the shorter side of the opening
- Depth (or height): how tall the box is
Add appropriate dimensions for flaps and glue tabs. Be sure to account for material thickness (especially for rigid or corrugated boxes).
Step 4: Add Cut, Fold, and Bleed Lines
Now create vector paths for each structural element:
- Cut lines – solid outlines
- Fold lines – dotted or dashed lines
- Glue areas – marked with shading or labels
- Bleed zone – extend artwork at least 1/8 inch (3mm) beyond cut line
- Safe zone – keep key content at least 1/8 inch inside the cut line
Always use separate layers for each component and label them clearly.
Step 5: Place Your Artwork
Once your dieline is finalized, start applying your branding and artwork directly onto the template:
- Ensure logos and text are in the safe zone
- Align the designs with the front, back, and side panels properly
- Double-check the orientation so nothing appears upside down when assembled
TIP: Print your dieline on paper, cut it out, and fold it to check how the artwork looks in 3D form.
Step 6: Final Checks Before Sending to Print
Before sending your dieline to production, make sure to:
- Flatten all layers
- Convert fonts to outlines
- Use CMYK color mode
- Embed any linked images
- Export as PDF or AI format
At D Custom Boxes, our pre-press team reviews every dieline to ensure it’s print-ready, but it always helps to double-check before submission.

Can I Create a Dieline Without Design Skills?
Yes, you can! If you’re not a designer, don’t worry. At D Custom Boxes, we offer:
- Free dieline templates
- Dieline creation services
- Design assistance for artwork placement
All you need to do is send us your box dimensions and style — we’ll take care of the rest and send you a production-ready dieline.
Final Thoughts
A dieline might seem like a backstage technological detail, but it’s truly the spine of custom packaging. It depends on your creative idea to create a functional effect that protects, offers, and deals. Whether you’re launching a new development or upgrading your packaging, comprehending dielines places you one step nearer to packaging perfection.
Need help creating the ideal dieline for your business box?
At D Custom Boxes, we specialize in crafting packaging that’s as smart as it is stylish. From dieline creation to full print display, our team is here to guide you every step of the way.
Ready to get begun? Contact us for a free dieline template or custom quote!